Your white sneakers have turned grey in a few months — and you're not sure how to clean them without causing more damage. The washing machine at sixty degrees yellows the soles and can melt the stitching. The dryer dissolves the thermal adhesive. This guide gives you the complete method: we cover canvas, leather, soles, and laces using only things you already have in your cupboard. Expected result: sneakers looking brand new in twenty to thirty minutes, no harsh chemicals.
01 / 05Prep the sneakers the step everyone skips
Before any cleaning, two essential prep moves — they stop you turning dirt into mud.
Remove the laces
Start by fully removing the laces. You'll clean them separately — otherwise they absorb cleaning products and hold onto stains. Pull the tongue up so you can reach every part of the upper. This also gives you direct access to the eyelets, which are often grimy and easy to clean with a cotton swab.
Dry-brush first
Before applying any liquid at all, brush the entire surface — upper and sole — with a stiff dry brush. If you wet a sneaker that still has dust or dried mud on it, you create a deeper, muddier mess. Thirty seconds of dry brushing removes eighty percent of surface dirt, and whatever remains comes off easily with cleaning products afterwards.
02 / 05White canvas — baking soda the paste that lifts the grey
Technique number one for white canvas: the baking soda paste. It's the most effective method without harsh chemicals.
Baking soda + vinegar paste
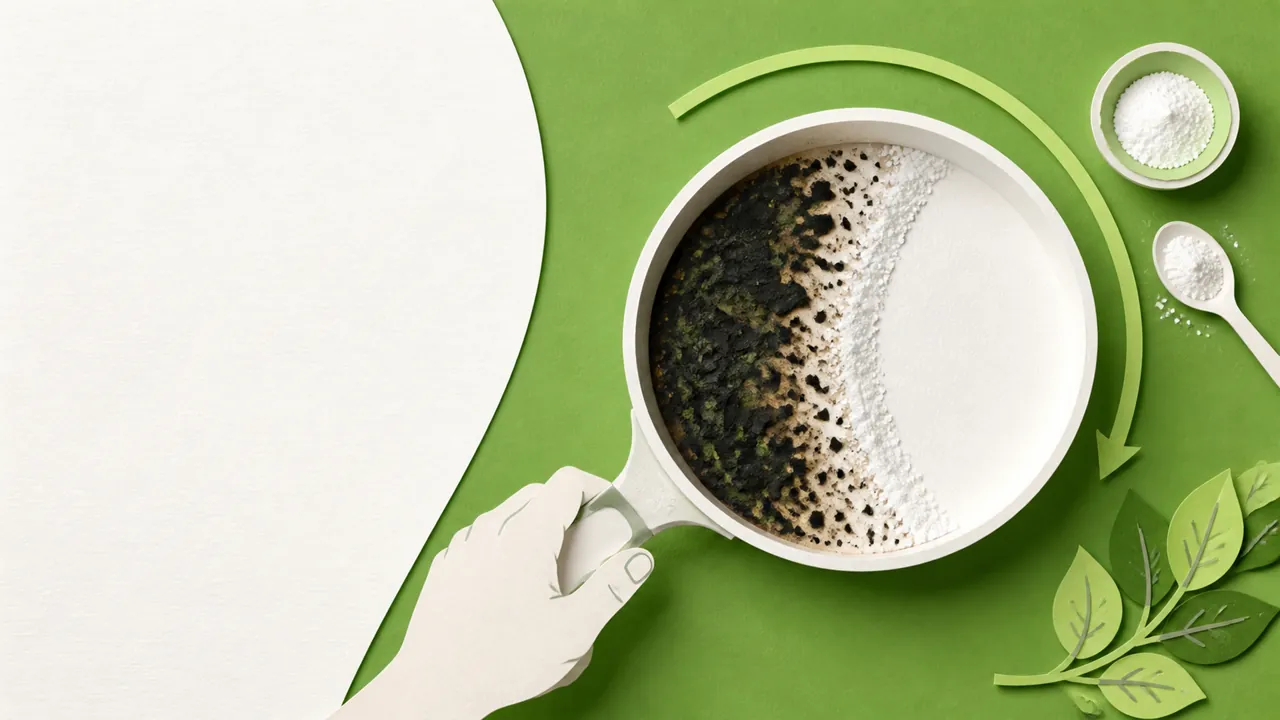
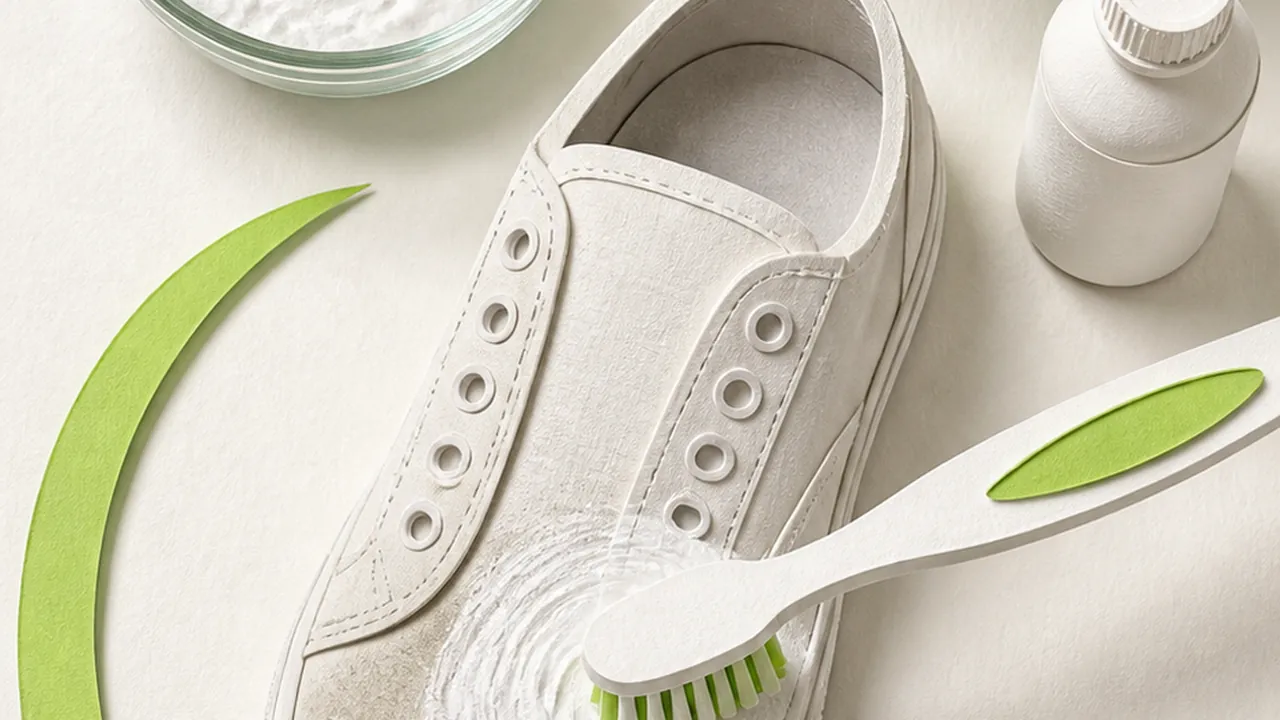
Mix one tablespoon of baking soda with two tablespoons of warm water and a few drops of white vinegar. The reaction will make the mixture foam slightly — that's normal, it means both active agents are working. Apply the paste with an old toothbrush onto the canvas in small circular motions. Don't scrub in straight lines — circular movements work the fibres in every direction and dislodge embedded particles more effectively. Focus especially on the greyest areas: the sides of the toe cap and underneath the tongue.
Sun-dry for 15 min
Let the paste dry for fifteen to twenty minutes in the sun or near a bright window. The heat activates the baking soda and lets it work deeper — you'll see the stains migrate into the paste as it dries and hardens. Once dry, remove the paste with a dry cloth or soft brush: it takes the stains with it. If grey remains in a specific area, do a second targeted application. Important: never put sneakers in the dryer to dry — intense heat melts the thermal adhesive holding the sole. Air-drying, even without direct sunlight, is enough.
03 / 05Leather and synthetic Marseille soap — never bleach
Technique number two for leather and synthetic: Marseille soap. Gentle but effective — and it won't damage the surface.
Marseille soap in small circles
For leather and synthetic, forget abrasive products. Lightly dampen a soft microfibre cloth and rub it on a bar of Marseille soap to pick up a little lather. Apply to the upper in small circles, section by section. Marseille soap is made of at least seventy-two percent vegetable oils — it effectively cleans grease and scuff marks without drying out leather or leaving residue. For the stitching, use a soft old toothbrush with a little lather. Wipe off with a barely-damp clean cloth, not under running water.
Never bleach on leather
The classic mistake on white leather: using bleach because it whitens. Bleach dehydrates leather, burns synthetic stitching, and leaves permanent yellow stains you can't fix. Same story with abrasive cleaners — they scratch the coating on smooth leathers and create micro-scratches that trap even more dirt afterwards. If your shoe has a real grease or oil stain, use a little sixty-degree rubbing alcohol on a cotton pad — it dissolves grease without damaging leather. But always do a test on the tongue or under the heel before applying to a visible area.
04 / 05Rubber soles magic eraser and baking soda
Technique number three: rubber soles. Two different tools depending on the area.
Magic eraser on the sides
For the rubber sides of the sole, the most effective tool is the melamine sponge — commonly called a magic eraser. Lightly dampen it under cold water and run it over scuff marks, grass stains, or floor marks. The principle is ultra-fine abrasion: melamine is slightly harder than rubber, so it micro-sands the surface without leaving visible scratches. Marks come off almost instantly. This sponge costs less than one euro, requires no chemicals, and should only be used damp. Important: for rubber soles only — don't use on leather or canvas, it will damage those surfaces.
Baking soda for the grooves
For the grooves and recesses in the sole — where the melamine sponge can't reach — use the same baking soda paste with an old toothbrush. Work along the grooves with short back-and-forth strokes. The paste foams slightly and dislodges particles trapped in the gaps. Wipe clean with a damp cloth following the same groove direction. For heavily ingrained areas, let the paste sit for two to three minutes before scrubbing.
05 / 05Laces and mistakes to avoid finishing touches + two classic traps
To finish: the laces and the two mistakes most people make when trying to clean their sneakers.
Laces in machine — mesh bag
Laces can go in the washing machine — but inside a mesh laundry bag with other white fabrics, at thirty degrees maximum. Without a mesh bag, they tangle in the drum and get damaged or wrap around other items. A mesh bag costs two euros at any supermarket and lasts for years. If your laces are heavily yellowed, soak them for thirty minutes in a bowl of warm water with one tablespoon of baking soda before putting them in the machine. To re-lace cleanly, thread from the bottom up toward the tongue — start at the bottom eyelets and cross in an X pattern as you move up.
60°C washer + dryer = ruined
Two classic mistakes that ruin sneakers. First: the washing machine at sixty degrees. The heat reacts with bleaching agents in the sole material and glue — result: permanently yellowed sole, and heat-sealed stitching peels off after a few cycles. Maximum thirty degrees if you machine-wash sneakers, delicate cycle, no spin. Second: the tumble dryer. Dryer heat reaches sixty to eighty degrees — it dissolves the thermal adhesive bonding the sole to the upper. A pair might not survive a single cycle. Always dry flat, in open air, in the shade or gentle sun. Natural drying takes four to eight hours — but your pair keeps its shape and five-year lifespan.
This advice is general information and does not replace a professional's opinion. When in doubt (health, electricity, chemicals), ask a specialist.
Sources
Want more tips like this one?
Subscribe to the channel